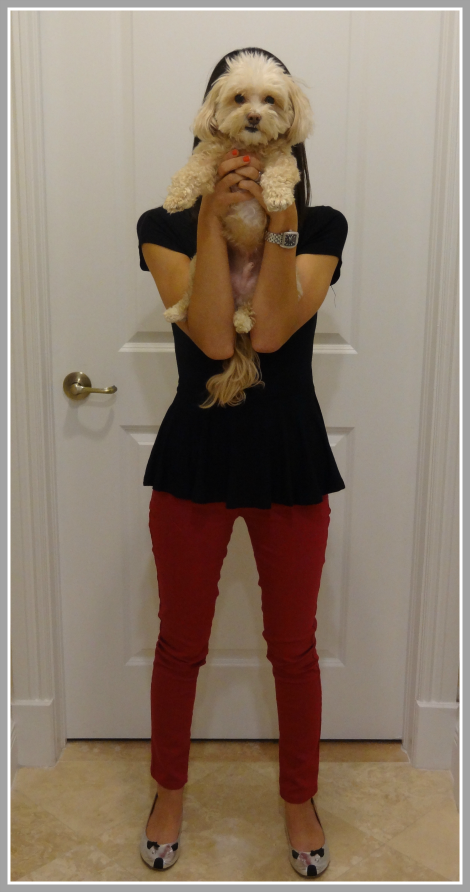
 So I had a different post planned for today. I was going to go over the things that I’m most looking forward to in the month of September, after kicking it off to a great start with one of my best friends, Alexis, who came to visit me this past weekend. This said friend gave me a mouthful the other morning after discovering that I didn’t provide a tutorial or include a pic of the finished “Forever 21 smokey eye” look from Tuesday’s post. Well, at least she’s reading it! I am grateful to have such amazing and honest friends, however I’m not so grateful for having in my mind a ridiculously narrow and long face, a lack-of-a-slope nose, and a gummy smile (I know, so Mean Girls of me, but we’re our biggest critics, right?). Thus I’ve tried to avoid posting a mug shot of myself, but seeing as Lex isn’t the first of my friends to tell me this I’ve decided to bite the bullet. I guess I can’t hide behind Fozzie forever…
Before I do so, I must preface a couple of things (I’m big on prefacing, although it drives everyone I know mad): I’m not a professional makeup artist. I don’t think I know everything. I’m just your average girl who has a fixation with this stuff. I don’t take self portraits of myself in mirrors (except when sending to my best friends to help decide if what I’m wearing is a ‘red light’ or ‘green light’). I count my lucky stars that makeup and the straightening iron were invented. So as Hannah from Girls puts it “Any mean thing that someone’s gonna think of to say about me I’ve already said to me, about me, probably in the last half-hour.”
That all being said, I do want you all to be able to connect with me and for me to post helpful tips, so after getting lectured I ran to Forever on my lunch break to purchase the other items to help complete the look that evening (may I also add that while running into the mall a huge black cat ran in front of me…awesome sign). One last thing, close-ups of applying makeup are uber awkward unflattering! Ok I’m done.
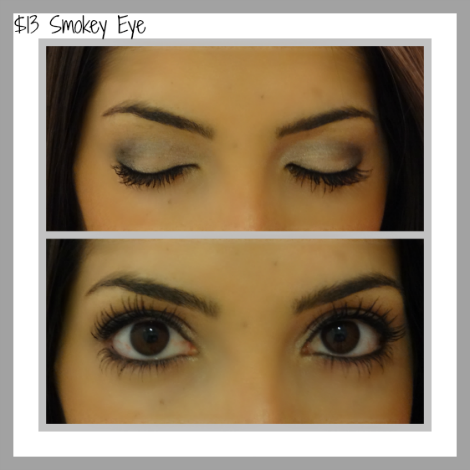
Here are the steps I took to accomplish a smokey eye for under $13.
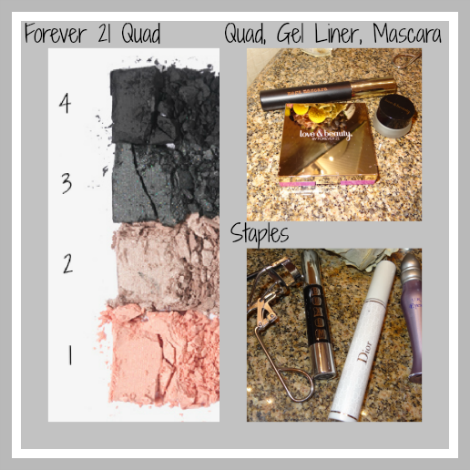
After curling my lashes and applying my eyeshadow primer (I used Urban Decay Primer Potion and Buxom Stick Around Eye Primer – which I’m loving using all around the eye, including below it) I started with the link pink shadow (1) on my brow bone:
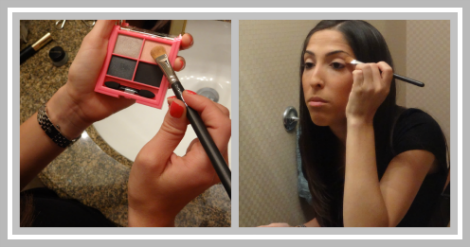 Then I took the silver/grey color (2) and used that all over my lid:
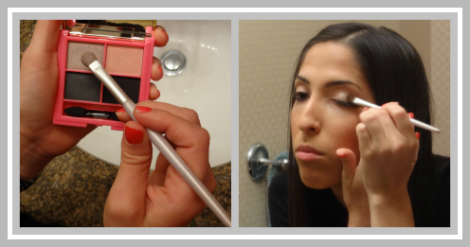 After that I mixed a little of the silver/grey (2) and the shimmery charcoal (3) color and blended that in the crease of my eye. I actually like doing this with my eye almost completely open so I can see how it will actually look. I then took a little more of the shimmery charcoal (3) and started applying that to the corner, blending it up in the crease.
Next, I took a dab of the black shadow (4) and applied it to the corner of my eye for that dramatic, smokey look.
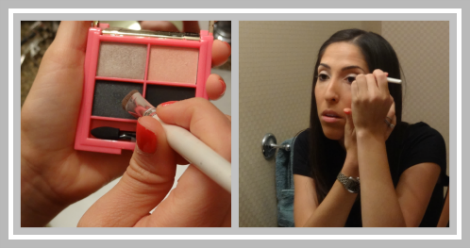 Once finished with the shadows, I used my small angle brush (love my MAC 266 Small Angle Brush) and applied the gel liner along my upper lash line (I know I included a liquid liner in Tuesday’s post, but they only had the gel liner in the store (it isn’t featured online, but was a whopping $2.80). I had already applied regular black liner to my bottom lid (which I actually just use MAC’s Carbon eye shadow and the 266 brush for this – part of my “staples”).
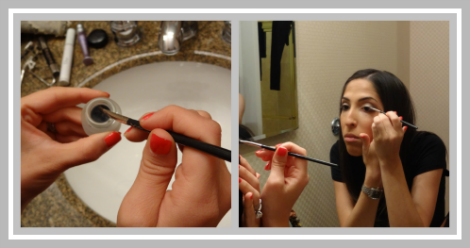
Now we’re on to my favorite part, the lashes! I first apply lash primer which is a MUST for me, #1 on the staple list! My favorite is Dior’s Diorshow Maximizer Lash Plumping Serum, worth every penny in my opinion. Then I gave a good two coats of the Mega Mascara and I was done!
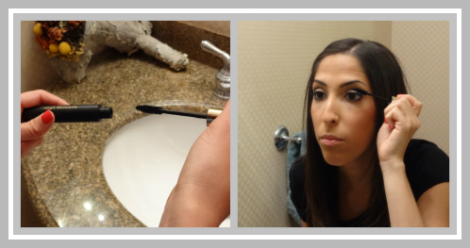
But could I go through with the big reveal? (I like to think my life is a TV show, and thus I hear Ty Pennington yelling “Move that MaltiPoo!” in the background, thanks for the words of encouragement Ty.) Here goes nothing…
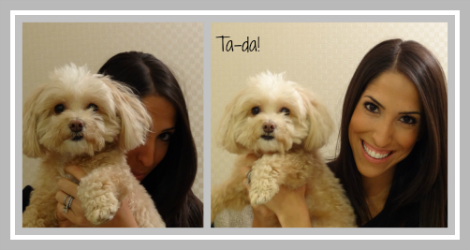
And here is the up close and personal finished look:
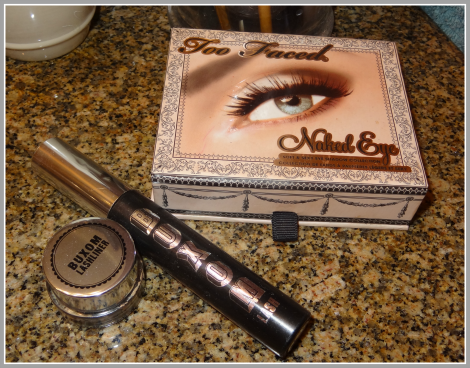
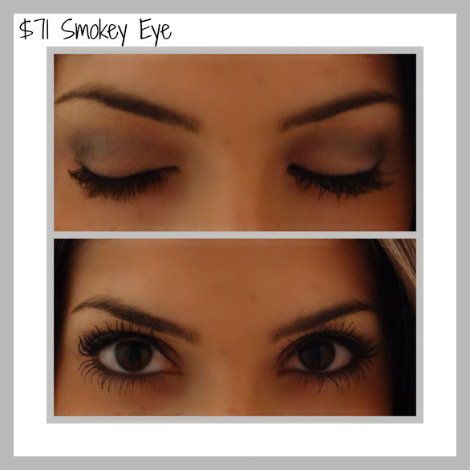
But shockingly enough I already had almost the identical products (gasp!) but by more expensive brands so I decided to use the similar type products to see the difference of what a smokey eye looks like for $71, compared to $13. For this I used: Too Faced Naked Eye Soft & Sexy Eye Shadow Collection. Buxom Lashliner. Buxom Lash mascara.
All in all I can say that I truly am impressed with the Forever eyeshadow quad, as well as the gel liner! The quad ended up being nice that the colors aren’t as bold, making it easy to layer as well as being easier to fix any goofs. Call me a mascara snob, I can definitely tell a difference and I’m sticking with the good stuff! Can you tell the difference of the two looks??
There, I did it (breathe).
Xo
Leah





8 comments
Lara
September 6, 2012 at 10:11 am (UTC -5) Link to this comment
The big reveal – Love it. You look gorg as always.
alexis
September 6, 2012 at 10:49 am (UTC -5) Link to this comment
What a great post!! i’m happy you moved that maltipoo!!
& now i would never spend $71 on a smoky eye after seeing the $13 one. for me it would be a good place to save.
Thanks!!
PS – I am loving the Stila face primer… it really makes a difference!
Whittney
September 6, 2012 at 11:27 am (UTC -5) Link to this comment
Leah, I am loving these posts and tips…although, I can’t help pictureing Jar behind the camera / you having re-dos on the photo end! XoxoX Can’t wait for new beauty secrets ala Leah!
Sandra
September 6, 2012 at 11:31 am (UTC -5) Link to this comment
Found your blog on Twitter! GREAT tips! Following!!
Jaime
September 6, 2012 at 12:29 pm (UTC -5) Link to this comment
I think its great (and very helpful) to compare inexpensive vs expensive looks, whether its with makeup, clothes, or other products. I have spent a fortune (as many others have) on something name brand, assuming its better, which is not always the case. Would love to see you post an outfit, or two rather, using the same concept….cheap vs name brand. Loving all of these posts!! Keep em’ coming!!!
ilene dickerman
September 6, 2012 at 3:42 pm (UTC -5) Link to this comment
Thanks for all your great and helpful info. I don’t have the time with my busy schedule to do the research. Thanks for doing it for me. Love your sense of humor…trying not to laugh while creating smokey eyes.
ilene dickerman
September 6, 2012 at 3:49 pm (UTC -5) Link to this comment
Thanks for the eye help I need. You are doing the shopping for me and teaching me along the way. You are giving me great advise while making me laugh.
wendy moskowitz
September 7, 2012 at 9:26 am (UTC -5) Link to this comment
Love the tutorial. It is very easy to follow. Now all i need is for you to do it for me !!! LOL